Field dressing a deer is the first step in preserving your harvest. An adult whitetail typically weighs 150–300 lbs (bucks), 90–200 lbs (does), so proper technique matters for handling the carcass efficiently. Done right, it keeps the meat clean, cool, and safe to eat. This guide breaks the process down clearly and practically,no fluff, just what you need to know. Techniques referenced here are backed by the U.S. Department of Agriculture (USDA), Centers for Disease Control and Prevention (CDC), and U.S. Fish & Wildlife Service (FWS) for proper field hygiene and game handling123.
What You’ll Need in the Field
Pack these essentials in your hunting kit:
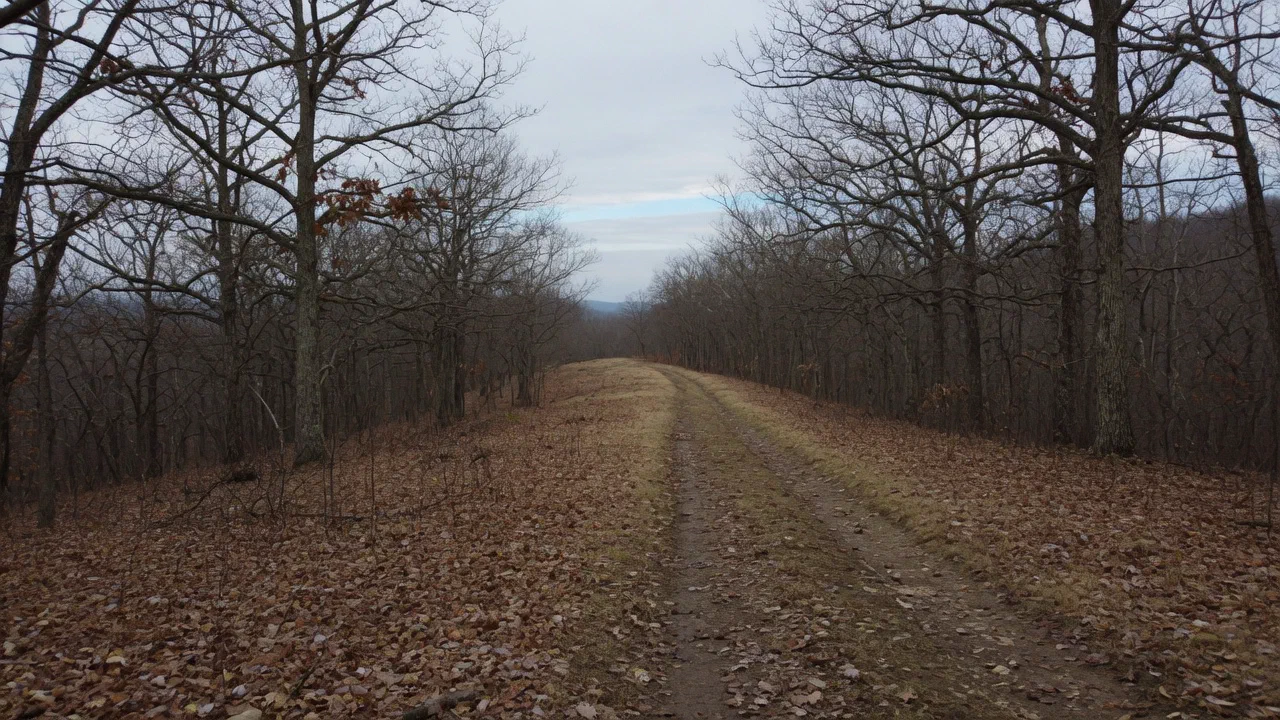
- Sharp knife: A fixed blade or gut hook knife with a 3–4 inch blade.
- Gloves: Nitrile or latex gloves protect you from bloodborne pathogens and bacteria.
- Game bags (optional): Helpful if you plan to quarter the deer or hike out.
- Paper towels or rags: For cleanup.
- Small saw (optional): Some hunters prefer this for opening the chest cavity.
- Rope or cord (optional): Helpful for positioning or hanging the animal.
Set Up Before You Start
Choose a level, shaded spot if possible. Roll the deer onto its back and spread the hind legs apart. You can brace the body with sticks or rocks to prevent rolling.
Tip: Keep your tools within arm’s reach, but away from the blood zone. Remove your pack to avoid contamination.
Opening the Body Cavity
Take your time and avoid puncturing any organs:
- Start your cut just below the sternum. Gently lift the skin and slice through it without pressing into the cavity.
- Guide the blade with your fingers. Use them to separate muscle while keeping the knife edge up.
- Stop before the pelvis. Don’t cut through the pelvic bone just yet.
Avoid rupturing the stomach, intestines, or bladder. Contamination from digestive contents can ruin large portions of meat.
Freeing the Rectum and Urinary Tract
This step prevents feces or urine from contacting edible tissue:
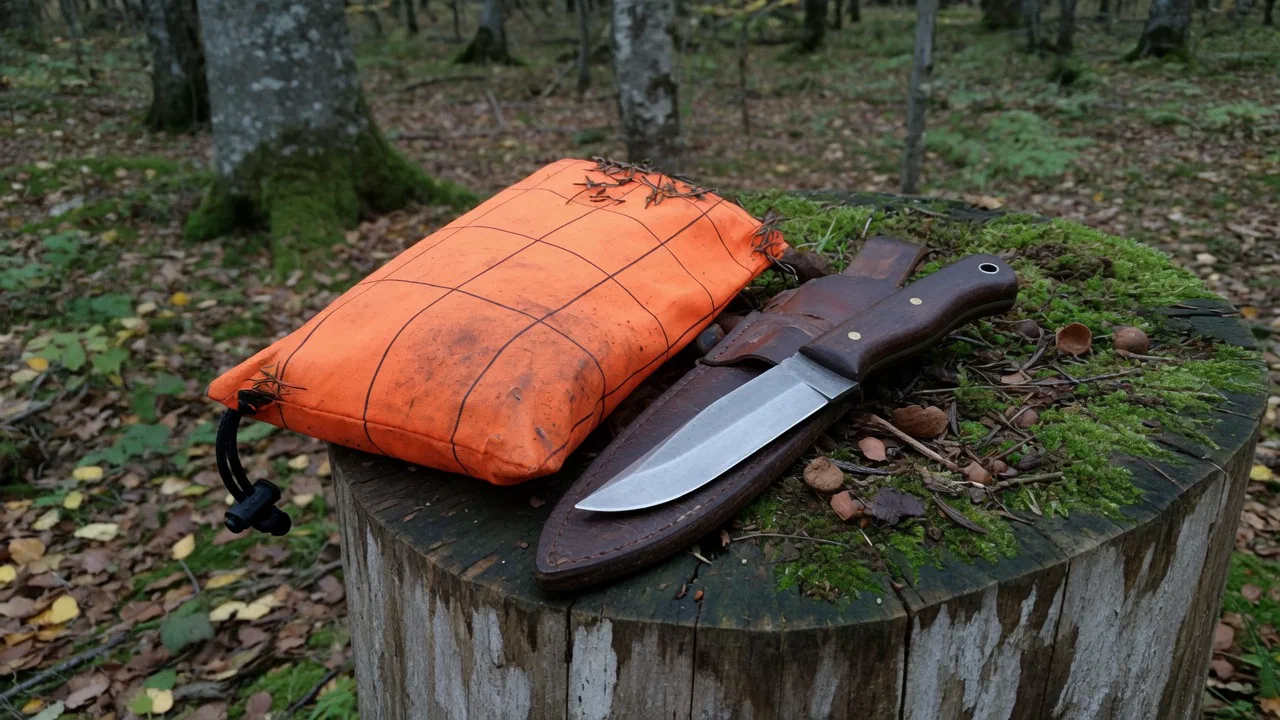
- Cut a circular ring around the anus to free the rectum from surrounding tissue.
- Pull it loose gently. Tie it off with a zip tie or cord if possible.
- For does, cut around both the anus and vulva to remove the entire urinary and reproductive tract.
Opening the Chest Cavity
To remove the lungs and heart, you’ll need to access the chest:
- Find the diaphragm, a thin membrane separating the chest and abdominal cavities.
- Cut along the rib edges to free it from the chest wall.
- Reach in and locate the windpipe (trachea) and esophagus. Cut as high up as you can.
This frees the entire organ system for removal.
Removing the Organs
Now you can remove the internal organs in one motion:
- Grab the trachea and pull downward. The heart, lungs, liver, and stomach will follow.
- Guide the intestines and rectum out of the pelvis.
- Use your knife only as needed. Avoid slicing organs open or puncturing them during removal.
Do not consume meat that came into contact with feces or urine. Discard contaminated tissue as advised by USDA game handling guidelines1.
Clean Out the Cavity
Once organs are removed, clean out the body cavity:
- Wipe away debris with paper towels or clean rags.
- Tip the body to drain blood.
- Avoid rinsing with water unless necessary. If you do, dry the cavity thoroughly afterward.
Cool the Meat Quickly
According to the USDA, bacteria multiply rapidly in temperatures between 40°F–140°F1. Cooling is essential.
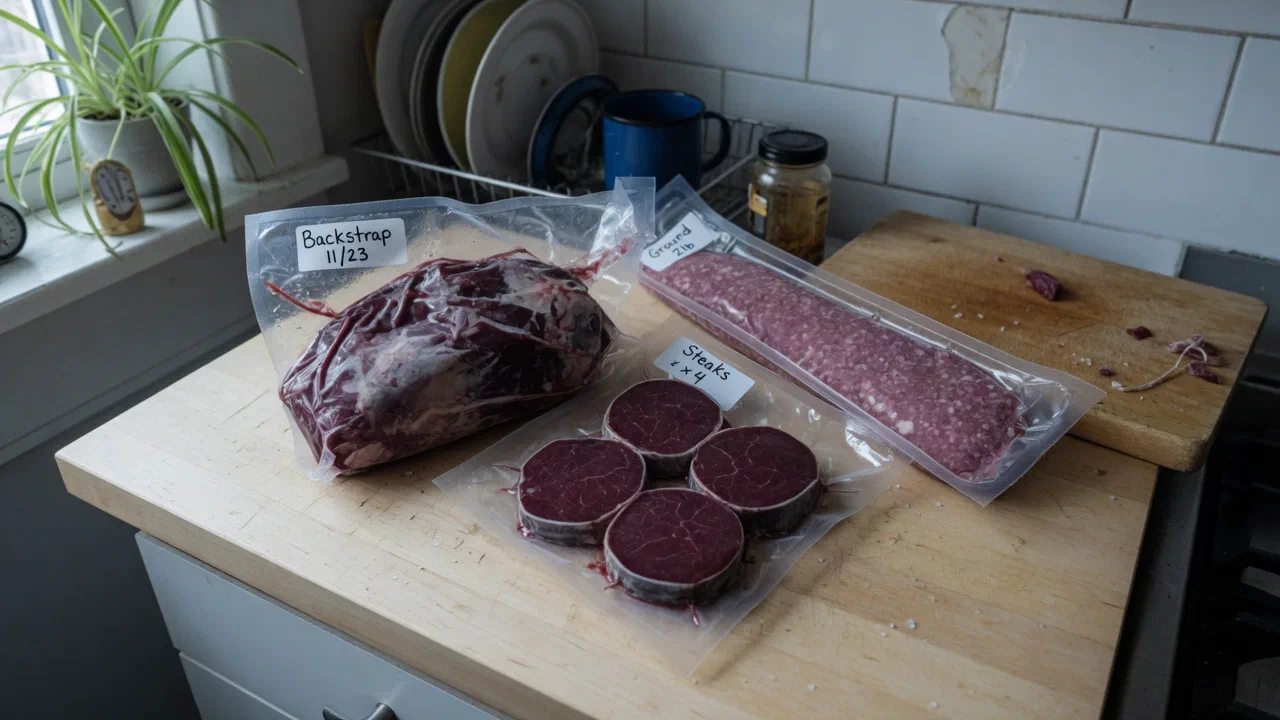
- Hang the carcass by the hind legs to promote air circulation.
- If hanging isn’t possible, prop open the cavity with a stick.
- Transport promptly. If temps are warm, insert clean ice bags into the cavity. Keep the carcass off hot truck beds and out of direct sunlight.
Field Dressing Safety Tips
- Wear gloves to protect against zoonotic diseases like brucellosis and tularemia2.
- Disinfect knives with a bleach solution (1 tablespoon bleach per gallon of water) or boil them after use2.
- Don’t consume meat from animals acting abnormally. These could carry Chronic Wasting Disease (CWD).
- Follow carcass disposal rules. Some states restrict moving brain or spinal tissue due to CWD concerns3.
- Use game bags when temperatures are above 40°F or when hiking out in warm weather.
Common Field Dressing Mistakes to Avoid
| Mistake | Why It’s a Problem |
|---|---|
| Cutting too deep | Ruptures intestines, contaminates meat |
| Skipping gloves | Exposes you to harmful bacteria and viruses |
| Not cooling fast enough | Causes spoilage and bacterial growth |
| Washing cavity with dirty water | Introduces new pathogens |
Final Reminder
Field dressing gets easier with experience, but safety and sanitation always matter. Respect your harvest by taking your time and doing it right. Always check your local and federal regulations before field dressing, transporting, or disposing of game.
If you’re new to hunting, start with our First-Time Hunter Checklist and Choosing the Right Caliber guide.
Keep Reading
- Game meat safety and handling – proper storage, cooking temperatures, and food safety after the harvest
- Field care basics – cooling, transport, and storage steps to protect meat quality
- Whitetail deer hunting guide – tactics, habitat, and season information for the most popular big game species
- Hunt packing list – everything you need in your pack before heading to the field
Next Step: Toss a few pairs of nitrile gloves and a backup knife in your daypack. Future-you will thank you.
For reference only. This page summarizes agency publications and is not legal advice or an official source; confirm dates, limits and fees with the state wildlife agency before you hunt. Regulations change mid-season. Send a correction if you spot an error. Disclaimer.